Making a quilt label is a meaningful and personalized way to add a finishing touch to your quilt project. It serves as a permanent record of the maker, recipient, date, and any relevant details about the quilt. Here's a step-by-step guide from Watergirl Quilt Co, a quilt shop in Prescott, Ontario, on how to make a quilt label. Shop our quilting fabrics and sewing supplies online today!

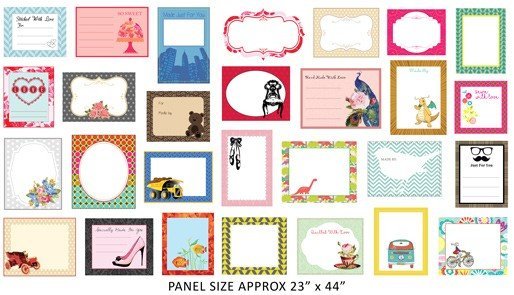
Choose the Fabric: Select a piece of quilt fabric that compliments your quilt and is suitable for writing or printing on. Cotton fabric is a popular choice due to its durability and ease of handling. You could also choose a pre-printed fabric label panel to simplify the process.
Determine the Size: Decide on the size of your label based on the available space and the amount of information you want to include. Common sizes range from 3" x 5" to 6" x 8". Use a ruler to cut the quilt fabric to your desired dimensions.

Plan the Design: Consider the overall aesthetic of your quilt and design a label that harmonizes with it. You can add decorative elements like borders, embroidery, or appliqué to enhance the label's appearance. Sketch your design on paper or use design software to create a digital template.
Add Information: Use fabric pens, permanent markers, or embroidery to write the necessary information on the label. Include details such as the quilt's name, your name as the maker, the recipient's name (if applicable), the date of completion, and any special notes or messages you want to include. Always note who quilted the piece if you sent it out to be quilted. Make sure to use indelible ink that won't fade or wash out over time.
Embellish and Seal: Enhance the label by adding decorative touches like embroidery stitches, small fabric appliqués, or photographs. These embellishments can add visual interest and showcase your creativity. To ensure the label's longevity, consider using a fabric sealant or clear nail polish to seal the ink or embroidery threads.